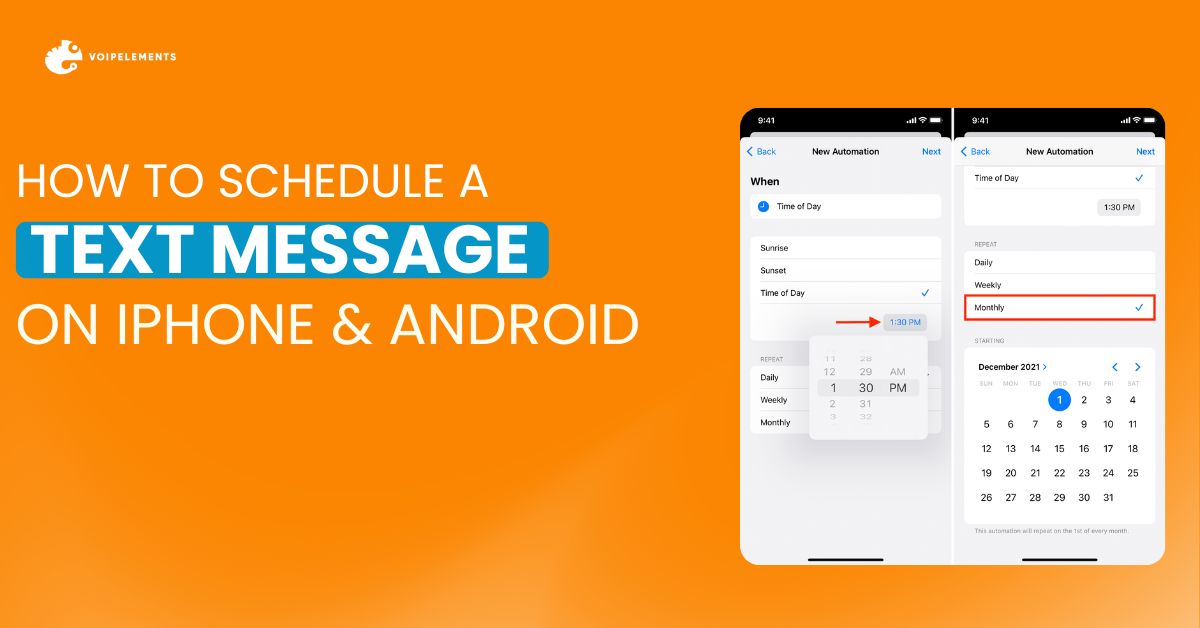
Scheduling text messages on your iPhone or Android device is a smart way to ensure communications are timely and effective. Whether it’s a birthday greeting or a timely reminder before an important event, being able to schedule rext messages in advance can be incredibly useful. Let’s show you how you can easily schedule texts on both iPhone and Android devices.
What Is a Scheduled Text Message?
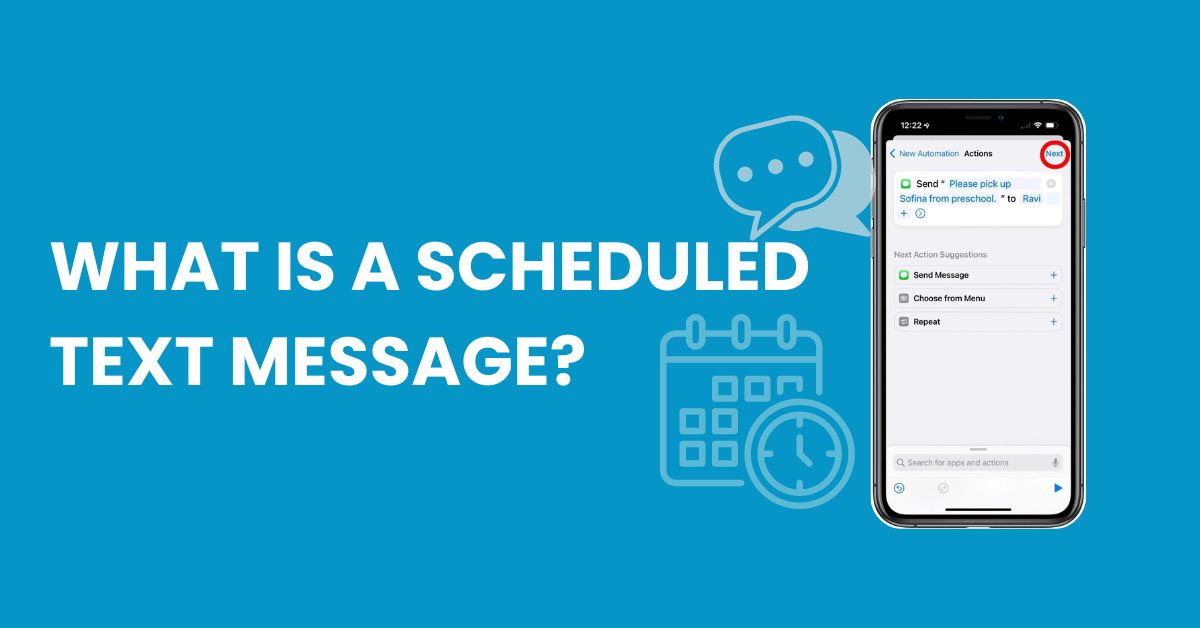
A scheduled text message is simply a text (SMS or iMessage/RCS) that you compose and set to be sent automatically at a later date and time. This allows you to write the message when you think of it, but have it delivered at a more appropriate or convenient moment.
How to Schedule a Text Message Using VoIP Elements?
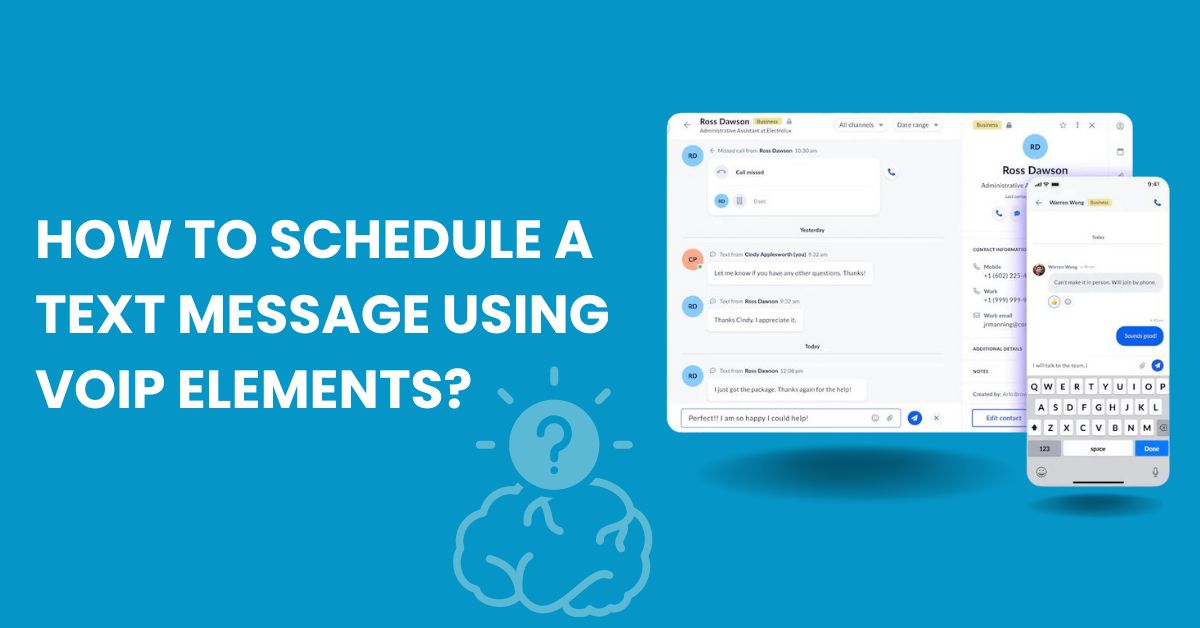
VoIP Elements is a feature-rich app for iOS and Android that provides various communication tools, including the ability to schedule text messages. Here is how you can schedule a text message using VoIP Elements –
- Download and install the VoIP Elements app on your iOS or Android device
- Open the app and navigate to the Messaging section
- Tap the “New Message” button to start a new conversation
- Type out your message in the compose box
- When ready to schedule, tap the “Schedule” button (it may be denoted by a clock icon)
- Set your desired date and time for the message to be sent
- Optional: Set a repeat schedule if you want the message sent recurringly
- Review the scheduled send details and tap “Confirm” or “Schedule Message”
- The message will now be queued for delivery at the scheduled date/time
- You can view and manage your scheduled messages in the app’s Scheduled list
How to Schedule a Text Message on iPhone?
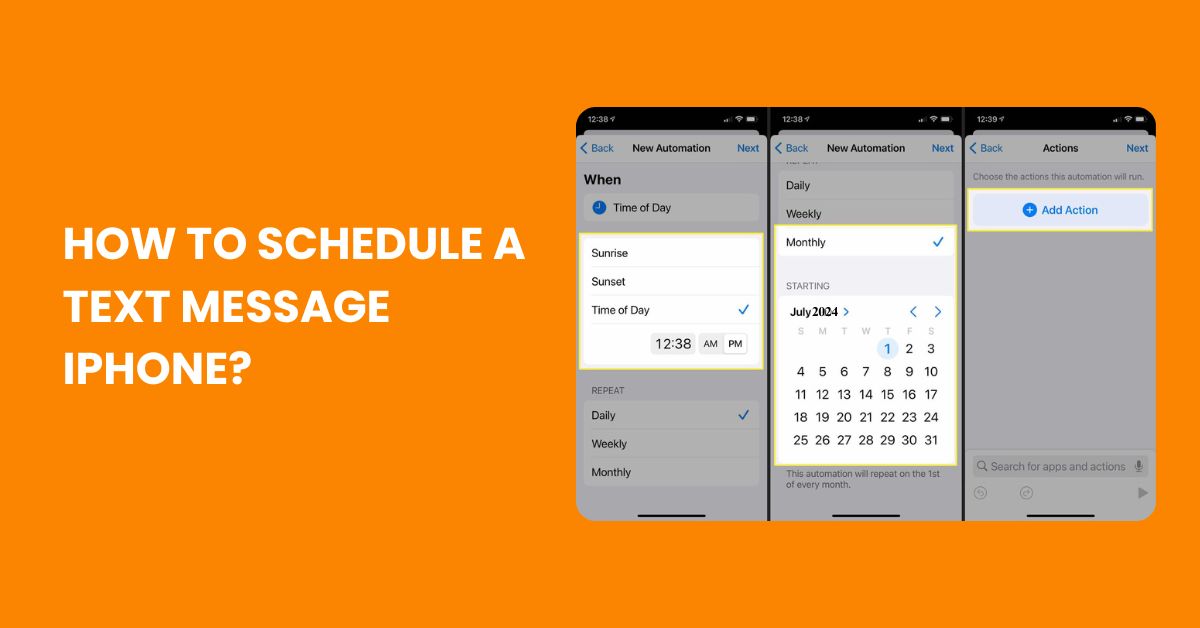
Since Apple’s Messages app doesn’t have a built-in scheduling feature, you’ll need to use a third-party app. Here are the steps to schedule a text message on your iPhone:
Step 1:
Install a scheduling app from the App Store. Popular options include Scheduled, Scheduler, and Ansible.
Step 2:
Open the app you installed and grant it access to your messages if prompted.
Step 3:
Compose your message within the app. This process varies slightly between apps.
Step 4:
Once your message is written, look for the “Schedule” option, which is usually denoted by a clock icon.
Step 5:
Tap on the scheduling icon and select your desired date and time for sending the message.
Step 6:
Double-check the scheduled send date/time and recipients.
Step 7:
Tap “Schedule” or “Confirm” to queue up your scheduled message.
Step 8:
The app will now send the message automatically at the scheduled date and time without any further input from you.
Step 9:
You can view and manage your scheduled messages within the app if needed before they are sent.
That’s it! With a third-party scheduling app, you can easily write messages ahead of time and have them delivered automatically on your iPhone at your preferred date and time.
Can You Schedule a Text Message on an Android Device?
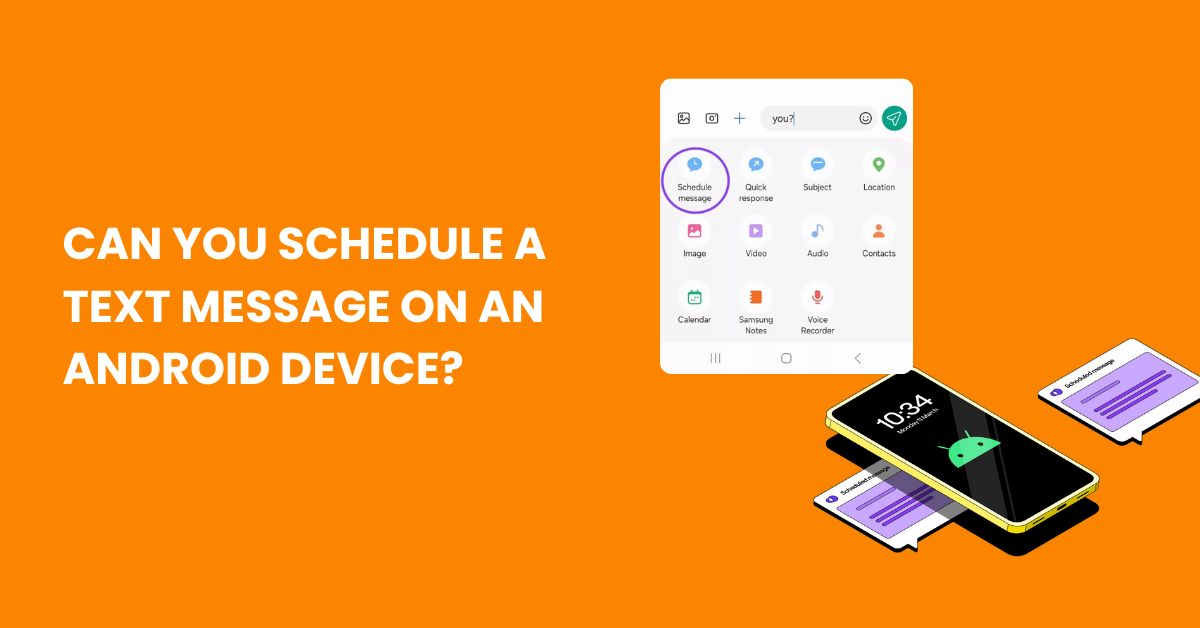
Android users can schedule text messages natively through the built-in messages app without the need for any third-party apps. You can write out a message now and choose to have it automatically sent at a later date and time. No extra apps needed – the scheduling feature is built right in. Just compose your message, then with a couple taps you can pick when you want it delivered. Scheduled messages stay visible in the conversation until sent, and you can cancel or change them anytime before the scheduled send time. It’s a really convenient way to get messages prepared in advance without having to remember to send them manually when the time is right.
So How to Schedule Text Messages on Android?
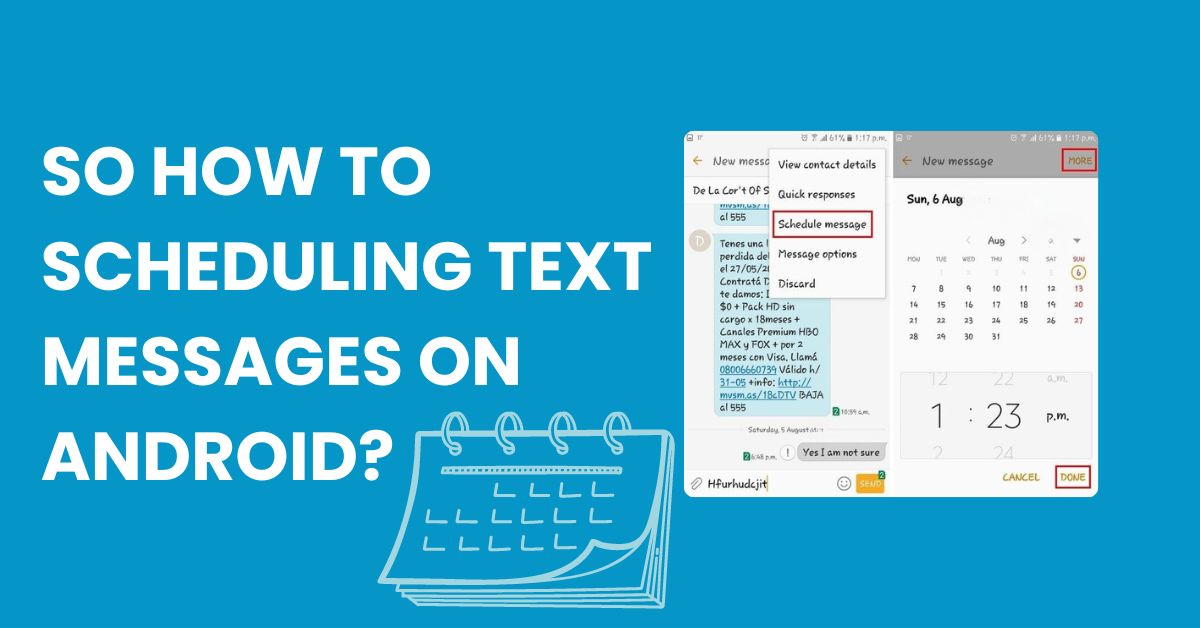
Here are the steps to schedule a text message on your Android device using the built-in Messages app –
Step-1:
Open the Messages app and start a new conversation or open an existing one.
Step-2:
Compose your message in the text or message field as you normally would.
Step-3:
Instead of tapping the Send button right away, long-press on it or tap the three-dot menu icon.
Step-4:
You should see an option to “Schedule message” or “Schedule send.” Tap on that.
Step-5:
Select your desired date and time for the message to be sent. Many apps provide preset options like Morning, Afternoon, Evening etc. You can also choose a custom date and time.
Step-6:
Review the scheduled send details like date, time, and recipient.
Step–7:
Tap “Done” or “Schedule” to confirm and queue up your scheduled message.
Wrapping Up
Being able to schedule your text messages ahead of time offers convenience and helps ensure important communications don’t slip through the cracks. While not a default option on iPhone, several quality third-party apps enable scheduled messaging. Android users can take advantage of this useful feature built right into the Messages app. Give scheduled texts a try to stay on top of your messaging in a modern world of constant connections.

