Struggling with setting up a 3CX Phone System for your business? This guide cuts through the complexity, offering step-by-step advice on everything from selecting the right hardware to integrating with your existing infrastructure.
We’re here to make the setup as straightforward as possible, so you can quickly leverage the full capabilities of 3CX to improve your team’s communication.
So, let’s jump right into solving this together, making sure your business benefits from a seamless and efficient communication system.
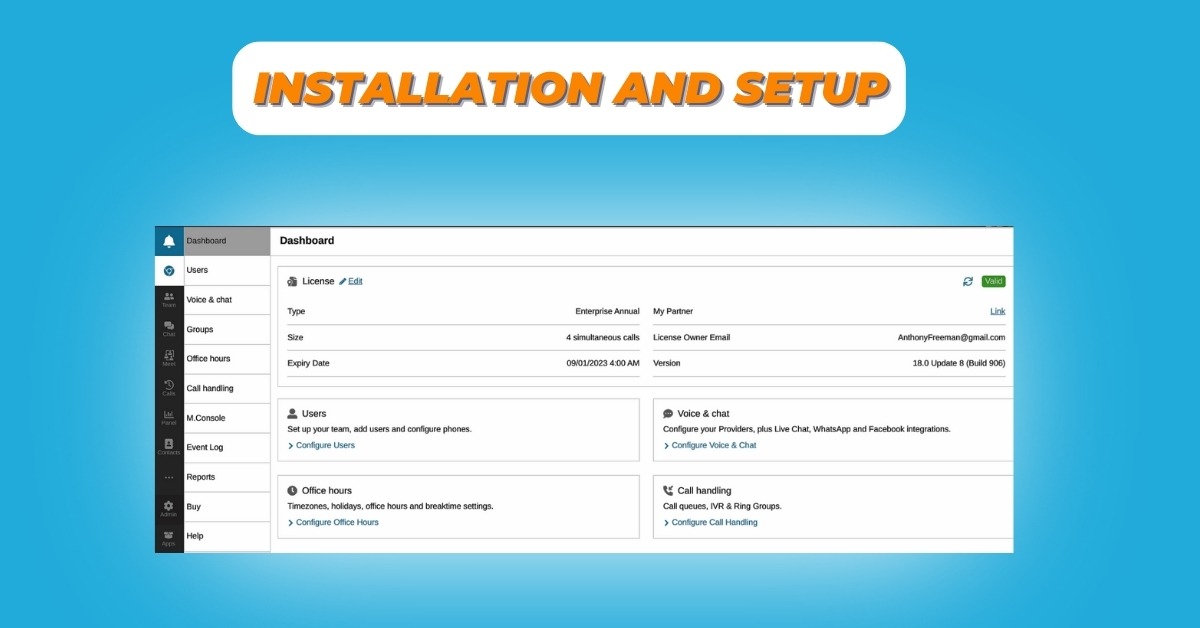
Installation and Setup
To set up your 3CX Phone System, follow these steps –
Step-1:
Decide Installation Type
When deciding on the installation type for your 3CX Phone System, you have two primary options: Hosted or DIY
- Hosted by 3CX
This option simplifies the process with benefits like –
- Automatic updates,
- Daily backups, and
- 24/7 monitoring
It’s ideal for businesses looking for a hands-off approach but requires –
- A supported SIP trunk
- Specific IP phone configurations
Options
- FREE/SMB: For up to 20 users, preconfigured
- Dedicated: More control, for 20+ users
- DIY Installation
Offers flexibility through Private Cloud (using services like Google Cloud, Amazon AWS) or On-Premise (on Windows or Linux) setups. It suits businesses wanting more control over their system, demanding a manageable DNS server, a static IP, and a properly configured firewall.
Step-2:
Once you’ve chosen your installation type, the next step is deployment and initial configuration –
- Sign Up for 3CX
Visit the 3CX website to sign up and select your deployment option based on the installation type you’ve chosen.
- Deploy 3CX System
Follow the guided process for either Hosted or DIY installation.
- Access the Admin console
After deployment, log into the 3CX Admin Console to start configuring your phone system.
- Configure System Settings
Set up SIP trunks, extensions, and call routes as needed for your organization.
- Test the Installation
Ensure everything is working correctly by making test calls and adjusting settings as necessary.
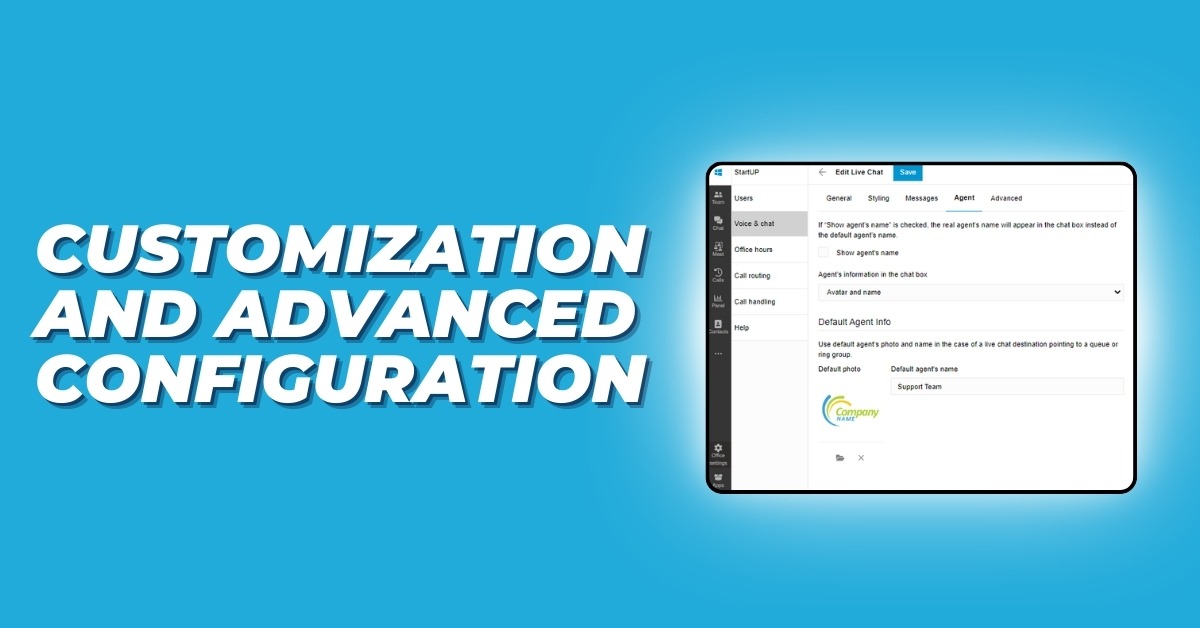
Customization and Advanced Configuration
-
Customize Call Routing and Forwarding: Define how calls are handled, ensuring they reach the right person or department.
-
Implement Voicemail and Call Recording: Set up these features for enhanced communication management and compliance.
- Configure Advanced Features: Dive into settings for Interactive Voice Response (IVR), call queues, and more to improve customer experience.
-
Secure Your Phone System: Implement security measures such as encryption and access controls to protect your communications.
Wrapping Up
Switching to a 3CX Phone System with VOIPELEMENTS can significantly enhance your business communication, streamlining efficiency and security. This guide has shown you how to select the best setup and tailor it to your needs, ensuring your system supports your business as it grows. With VOIPELEMENTS, you’re equipped for a future of clear, reliable communication, making every call and collaboration smoother.